SMART CORE PRO

Profile deviations and surface defects at a glance

SMART CORE PRO software provides users of CONTOUR CHECK SHAPE systems with intelligently configured geometrical data that can be applied directly in the process line, as well as in the data structures of an Industry 4.0 production environment.

See the full picture

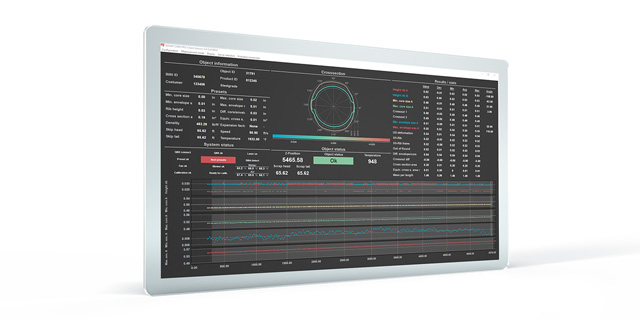
SMART CORE PRO presents all of the geometrical data needed for the rolling process clearly and in real time. The software is designed for use in rolling:

  • Round material such as wire, bars, and pipes
  • Rebar
  • Flat (rectangle) and square
  • Hexagon and octagon

Measurement results can be presented as desired:

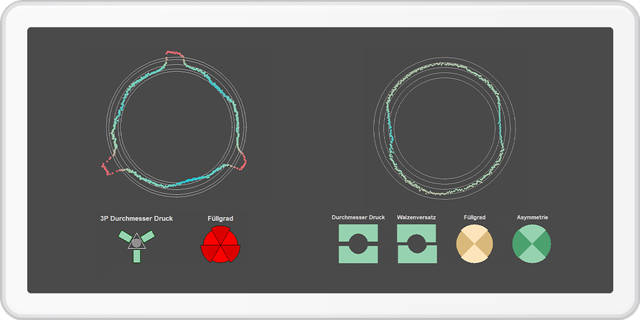
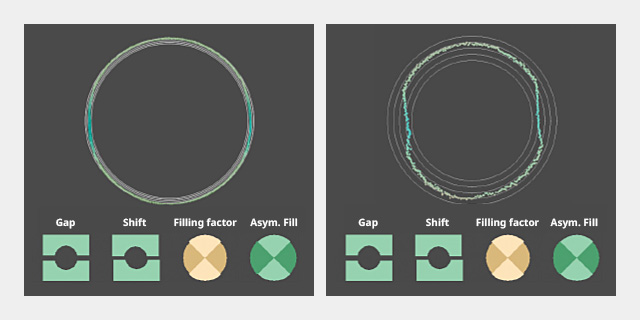
  • Contour as circle chart
  • Line diagrams
  • Process with defect map
  • Three-dimensional visualization

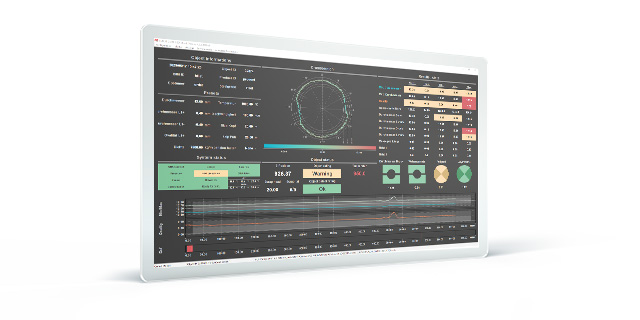
With a few mouse clicks, authorized users can configure all screen masks to display exactly the data they need to see. For example, the software shows rolling-mill workers the profiles as circle or line graphics, while Quality Assurance gets comprehensive information and evaluates statistical data.

Analyze the form deviations

For two- and three-roller stands, reliably detecting the orientation of the profile is critical. An algorithm developed especially for SMART CORE PRO compensates for any twisting of the rolled material between rolling stand and measurement point. This ensures that the contour is always captured and presented in the correct position.

This makes it possible to unambiguously assign core dimensions, like groove base and gap, shoulder, and seam, to the rolling stand setting and the respective rollers, which is a fundamental requirement for automatic control of the rolling process.

LAP’s light-section sensors capture such form deviations as:

  • Divergent dimensions of rolled material
  • Over- or underfilling on one or both sides
  • Surface defects
  • Roll offset and wear

Act fast and accurately

Unambiguous detection and classification of profile deviations and surface defects allows targeted elimination of the causes. SMART CORE PRO distinguishes between various stepped, convex and concave contour deviations resulting from surface defects, which are assigned to one of five classes based on their length.

This removes subjective estimation from the rolling stand adjustment process: SMART CORE PRO gives specific information on how to adjust the stand.

For example, the measured values for a roll offset can flow directly into the adjustment's target value. That means that the rolling stand can be trimmed faster and more accurately after product changes, raising the certainty of producing within specified tolerances again within a short time, and so increasing rolling mill output.

Improve your processes

The integral database stores all measured values for several months. Users can access all geometrical information from any computer in the company intranet or cloud, regardless of platform. Extensive statistical tools enable offline evaluation of stored data based on various criteria, like per band, roller lot, or batch.

SMART CORE PRO has its own communications gateway, by which it provides measurement data to super-ordinated systems using industry-standard process interfaces. This means it is prepared for deep integration in networked systems like MES or ERP.

If necessary, LAP will adapt the interfaces to the individual customer environment. The systems thus supply extensive input for improving processes, for example for big-data analysis or supply-chain optimization applications.

Go to top