100 percent control in tube production
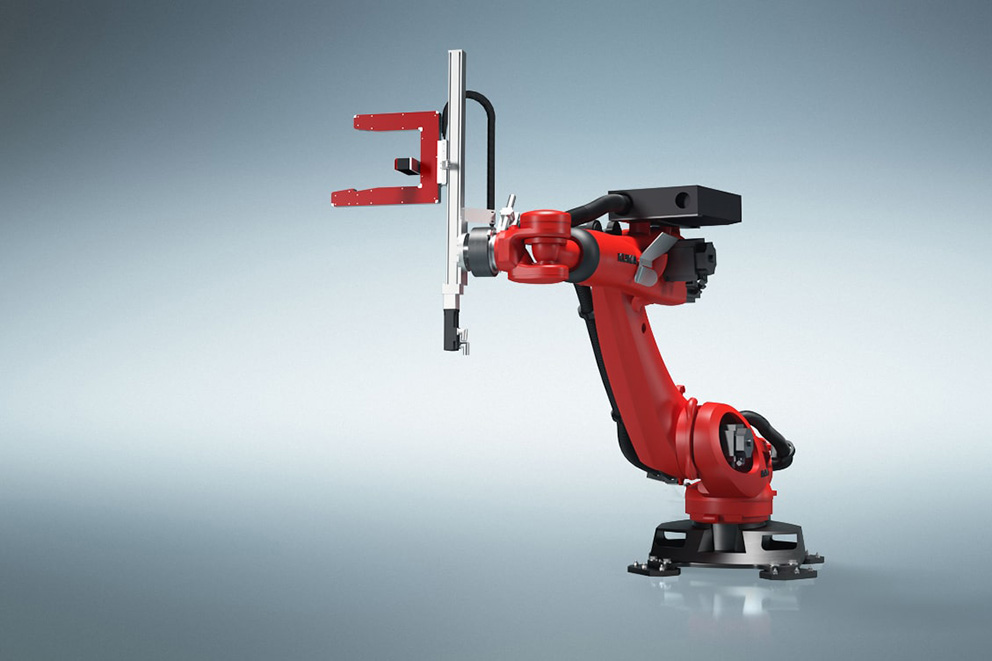
LAP's TUBE END CHECK measuring systems captures the complete geometry of tube ends. Using sensors mounted on a robot arm, it measures the entire geometry of each tube end in-line and in time with production, making it possible to check each individual tube instead of doing spot checks.
TUBE END CHECK is a modular system that can be configured to meet the user’s needs. Depending on the setup, it measures the inside and outside diameter, wall thickness and ovality, as well as the form of the chamfers and the perpendicularity of the saw cut. LAP developed it for use in adjusting and final checks of seamless or welded tubing with outside diameters up to 1500 mm or more.
Since the system is completely integrated into the production process, it can accurately measure the ends of each individual tube. This in-line measurement obviates the need for manual offline random sampling previously used, which could often only be applied to a small percentage of the tubes.
With 100 percent checking, the quality of the tubes, for example to the standards of the American Petroleum Institute (API), can be clearly documented. In addition, the system detects all tubes in-line that do not meet specifications. This eliminates the high costs of transporting faulty tubes back and forth if deviations are discovered only by the end user. The results also allow conclusions to be drawn about important production process parameters. For example, when rolling seamless tubes, the rolling stand settings can be optimized.
When building pipelines that will be subjected to high pressures, it is important that the ends of tubes are perfectly aligned for welding. Perfect roundness and precise adherence to the specified diameter and wall thickness are critical here. TUBE END CHECK delivers all the necessary measurement values from a single pass of the sensor head.
The technology in detail
For measuring, the tube is held in the measuring position. The robot to the side of the roller conveyor extends its arm with sensors from the protected parking position into the tube end, and scans the entire tube circumference through 360°. Upon completion of measurement, the robot arm returns to the parking position. The tube then moves forward until the other end reaches the measuring position, at which time the process is repeated.
The interior and exterior contours are measured with laser triangulation sensors, and the system derives the wall thickness by comparing these two contours. An optional light-section sensor can also measure the perpendicularity of the tube and the contour of the chamfers.Since the robot can move in multiple axes and is freely programmable, the system can be used with longitudinal as well as transverse tube advance. With transverse advance, two robots can be used to measure both ends of the tube simultaneously.
The time needed for the measurement cycle at the two tube ends is significantly less than the tube-to-tube sequential time in the production line, which typically runs 0.5 to 2.5 minutes. Measurement does not hinder the production flow in any way. The measurement results are shown graphically at the control stand. If a tube exceeds a defined tolerance parameter, the operating personnel can immediately intervene, for example reworking the tube ends.

